
Create a Advanced Flow
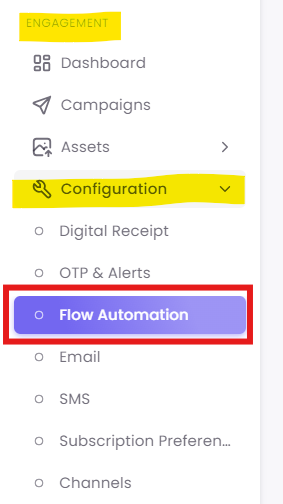
Step 1: Navigate to Flow Automation
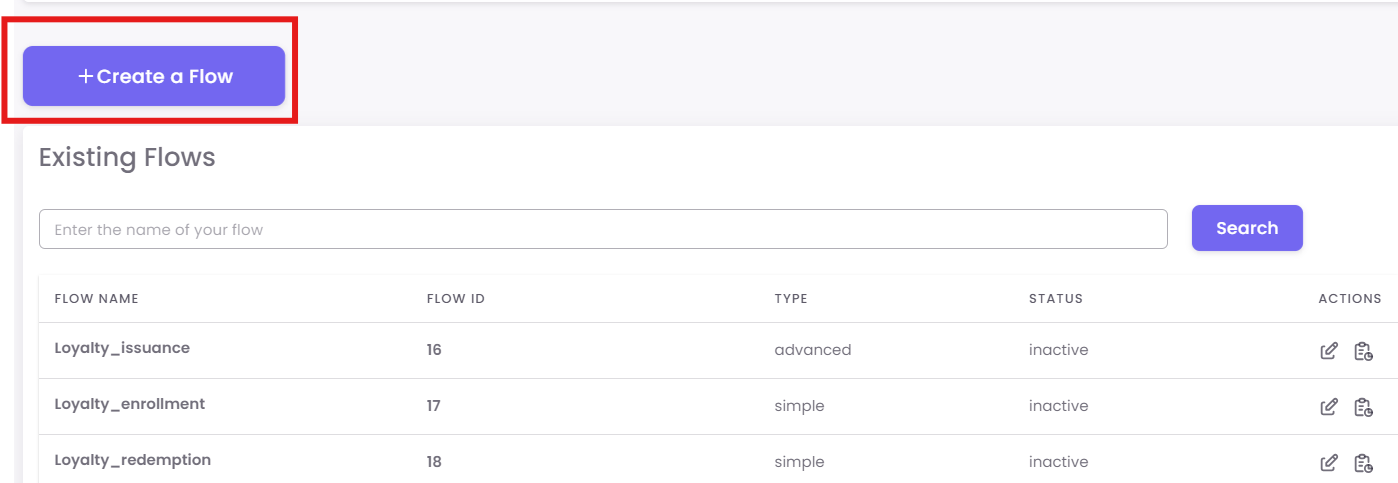
Step 2: Create a New Advanced Flow
In the "Existing Flows" dashboard, click the + Create a Flow button.
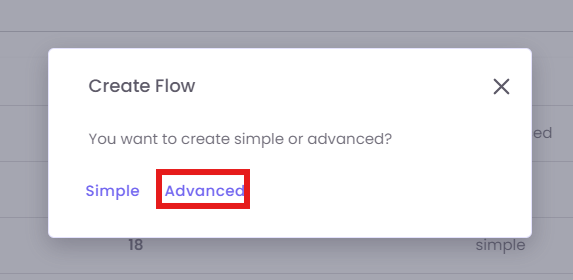
A pop-up will ask you to choose the type. Select Advanced.
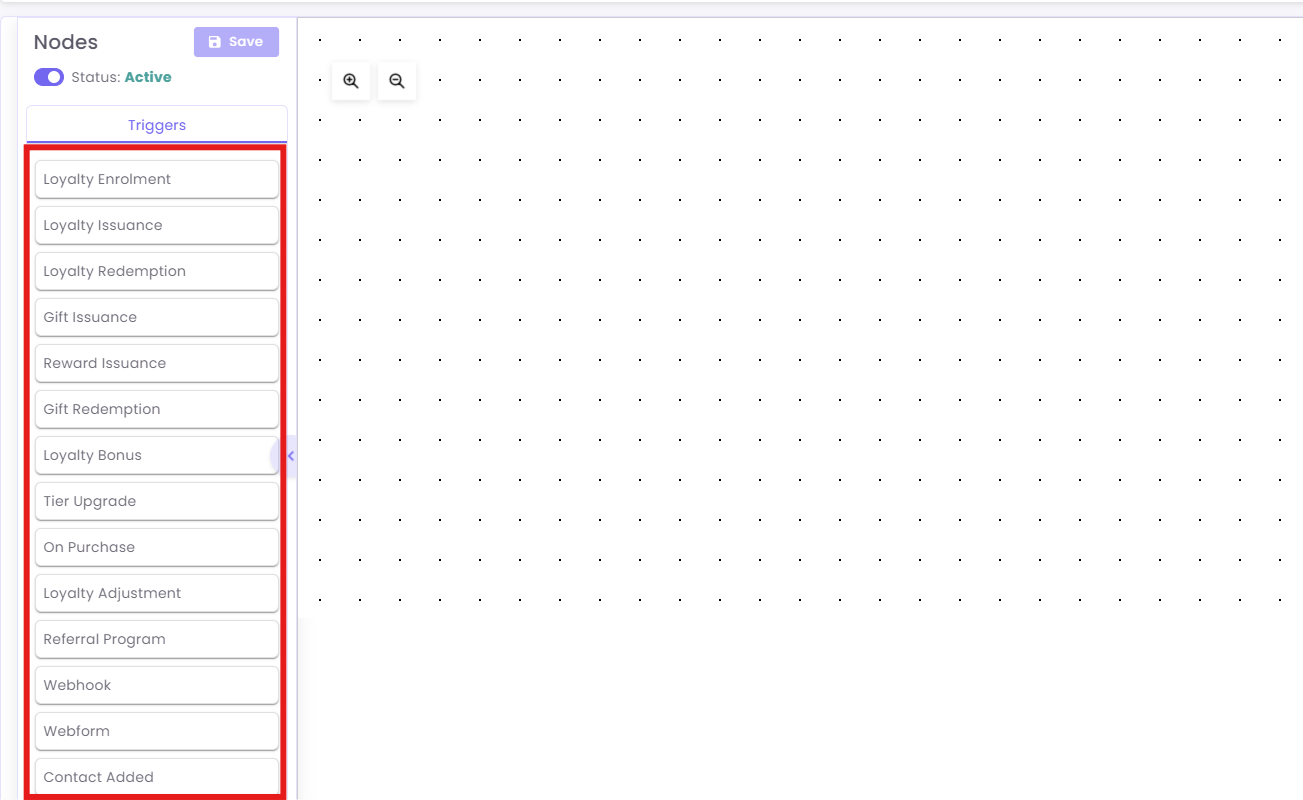
Step 3: Select Your Trigger
You will now see the blank canvas. Your first step is to choose the event that will start this flow.
-
On the "Nodes" panel (left), make sure you are on the Triggers tab.
-
Drag your desired trigger onto the canvas. This will be step0.
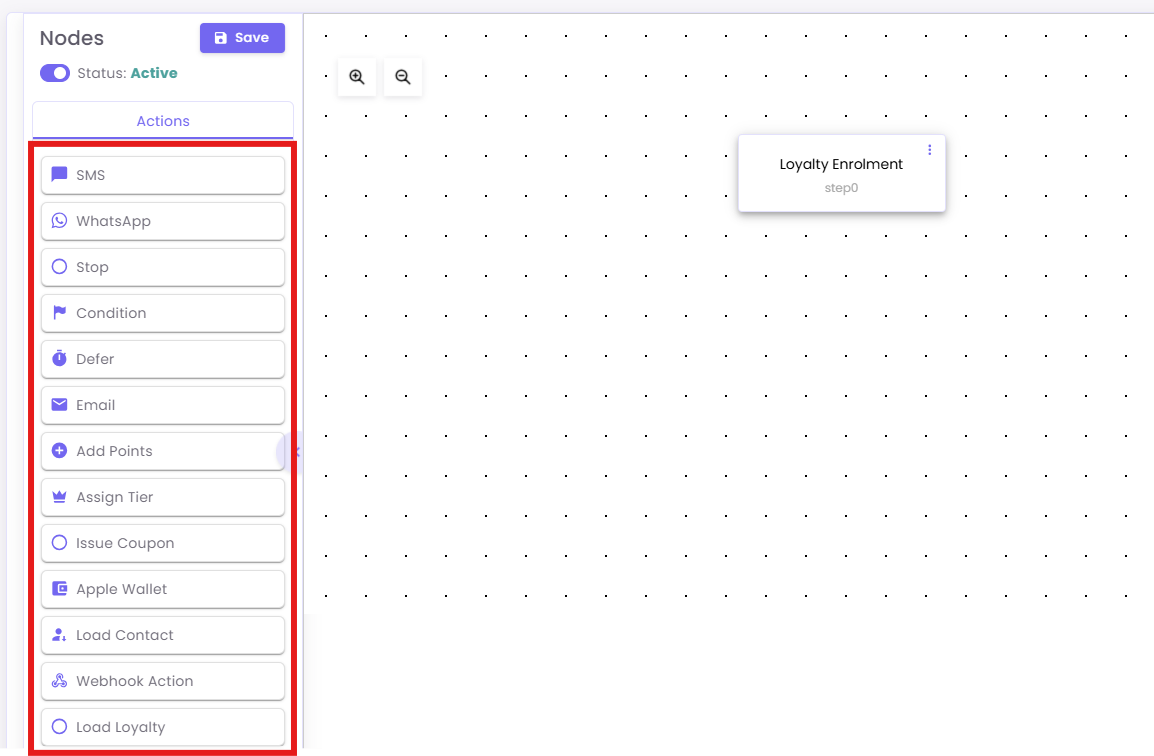
Step 4: Add and Connect Action Nodes
Next, you will build the journey using "Action" nodes.
-
Click the Actions tab on the "Nodes" panel (left).
-
Drag your desired action (e.g.,
Defer,Condition,Email) onto the canvas. -
To connect nodes, click and drag from the small circle on the bottom of one node to the small circle on the top of the next node.
Step 5: Configure Your Nodes
This is the most important step. You must click on each node you add to open the Configuration Panel on the right and set it up.
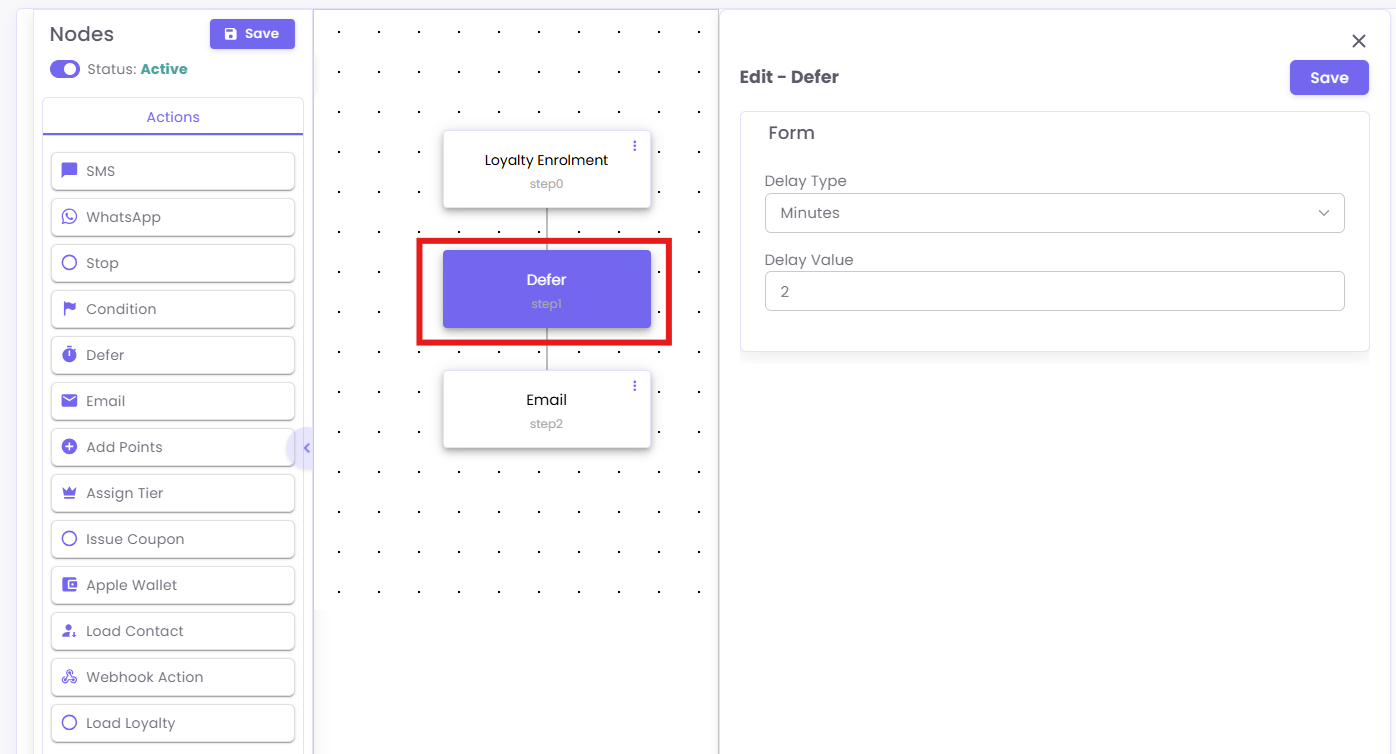
Example A: Configuring a 'Defer' (Wait) Node
This node pauses the flow for a set time.
-
Drag the Defer node onto your canvas and connect it.
-
Click the
Defernode. The "Edit - Defer" panel will open. -
Set the Delay Type (e.g., Minutes, Hours, Days) and Delay Value (e.g., 2).
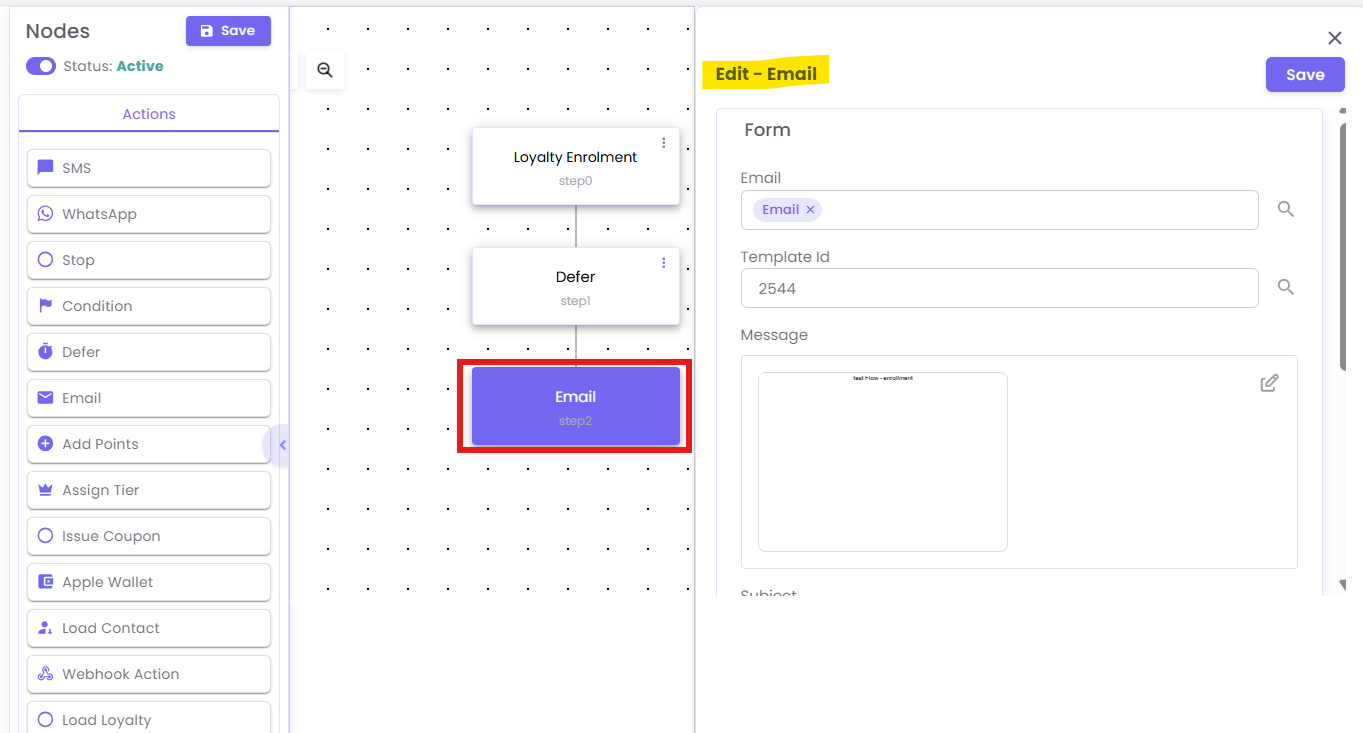
Example B: Configuring an 'Email' Node
-
Drag the Email node onto your canvas and connect it.
-
Click the
Emailnode. The "Edit - Email" panel will open. -
Enter the
Template Idfor the email you want to send and fill in other required fields.
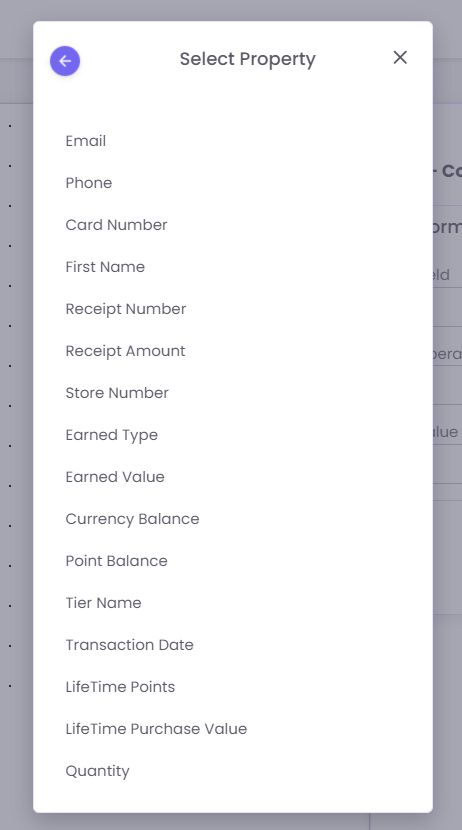
Example C: Configuring a 'Condition' (Branching) Node
This is the most powerful node. It creates a "Yes" / "No" branch.
-
Drag the Condition node onto your canvas and connect it.
-
Click the
Conditionnode. The "Edit - Condition" panel will open. -
Field: Click the search box to select the property you want to check.

- Operator: Select how to compare the field (e.g.,
greater than,equals,less than). - Value: Enter the value to check against (e.g.,
500).
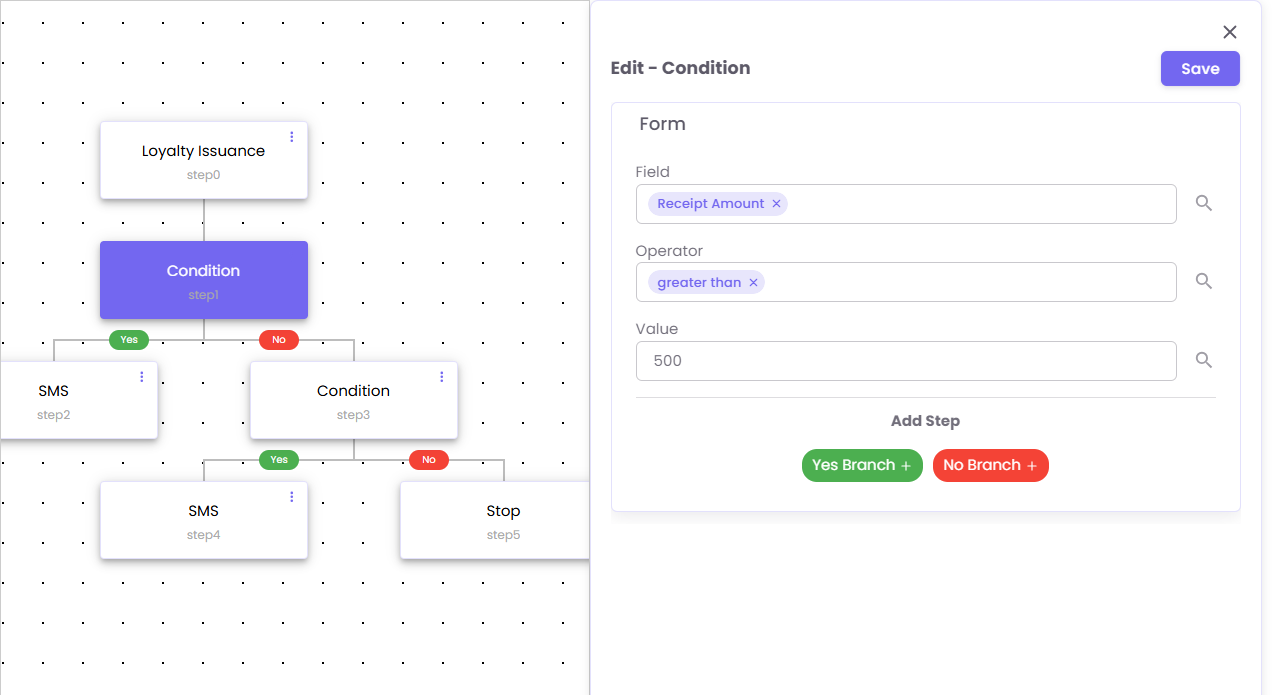
Step 6: Build Your Logic (Yes/No Branches)
The Condition node will now show a green "Yes" branch and a red "No" branch. You must add actions to both paths, even if it's just a Stop node.
See the example flow below:
-
Trigger:
Loyalty Issuance(a purchase is made). -
Step 1 (Condition): Is
Receipt Amountgreater than500? -
Yes Branch (step2): Send
SMS(e.g., a "high-value customer" thank you). -
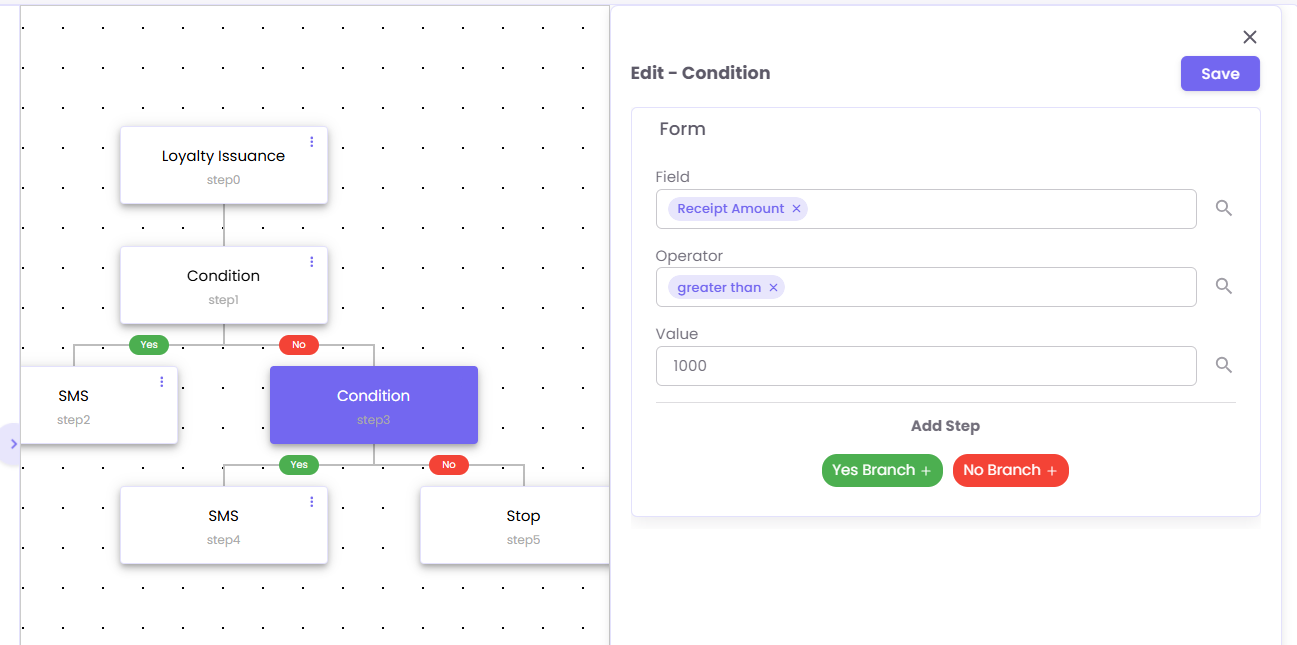
No Branch (step3): Check another
Condition. for greater than 1000
Step 7: Save and Activate Your Flow
Your flow is not "live" until you activate it.
-
Click the Save button in the top-left corner.
-
Click the Status toggle to switch it from
InActiveto Active.
Your flow is now running and will process all new customers who meet the trigger.