Creating a Simple Flow
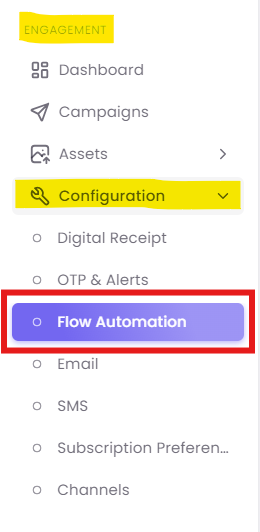
Step 1: Navigate to Flow Automation
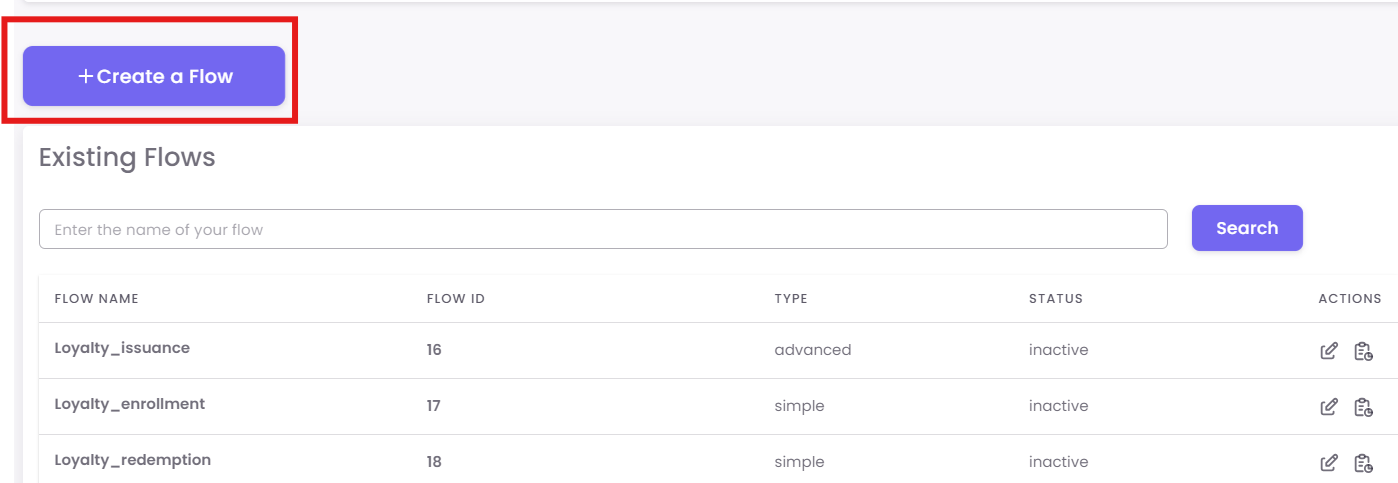
Step 2: Create a New Simple Flow
On the "Existing Flows" dashboard, click the + Create a Flow button.
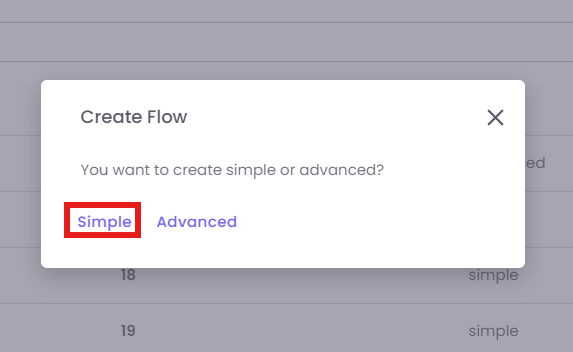
You will see a pop-up asking you to choose the type of flow. For this guide, select Simple.
Step 3: Name Your Flow and Select a Trigger
You are now on the "Create Flow" screen.
A. Name Your Flow: First, give your flow a unique and descriptive name in the Customer Journey field.
- Example: Instead of "Customer Journey," use "Welcome SMS - 3 Days Post-Enrolment."
B. Select the Trigger: In the "When this happens..." section, click the dropdown to select the event that will start this flow.
- Example: As shown in the image, you could select
Loyalty Enrolment. This means the flow will begin for a customer only at the moment they enroll in your loyalty program.
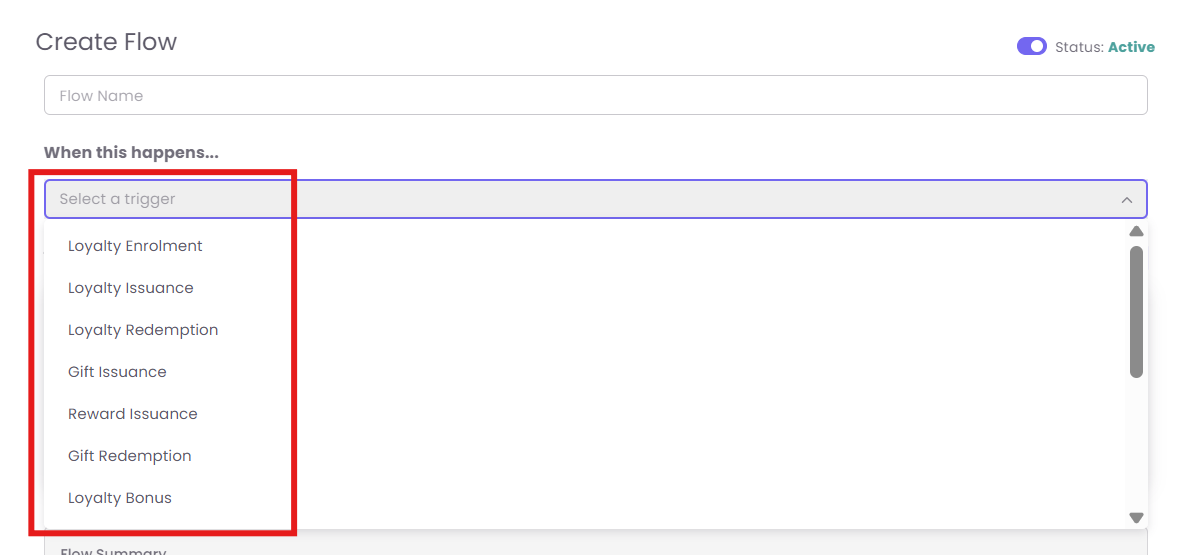
- Loyalty Enrolment: Starts a flow when a customer first signs up for your loyalty program.
- Loyalty Issuance: Triggers when loyalty points are given to a customer, typically after a purchase.
- Loyalty Redemption: Triggers when a customer spends their loyalty points to claim a reward.
- Gift Issuance: Starts a flow when a gift card is purchased and issued to a customer.
- Reward Issuance: Triggers when a specific, non-point reward (like a coupon) is given to a customer.
- Gift Redemption: Triggers when a customer uses a gift card to make a payment.
- Loyalty Bonus: Starts a flow when a customer receives bonus points outside of a standard purchase (e.g., for a birthday).
- Tier Upgrade: Triggers the moment a customer earns enough to move up to a new loyalty tier (e.g., from Silver to Gold).
- On Purchase: Starts a flow whenever any customer completes a purchase transaction.
- Loyalty Adjustment: Triggers when a staff member manually adds or removes points from a customer's account.
- Referral Program: Starts a flow when a customer successfully refers a friend who signs up or makes a purchase.
- Webhook: An advanced trigger that starts a flow when an external system (like your website) sends a signal to OptCulture.
- Webform: Triggers when a customer submits a specific OptCulture-hosted webform (like a "Contact Us" form).
- Contact Added: A general trigger that starts a flow when any new contact is added to your database, regardless of the source.
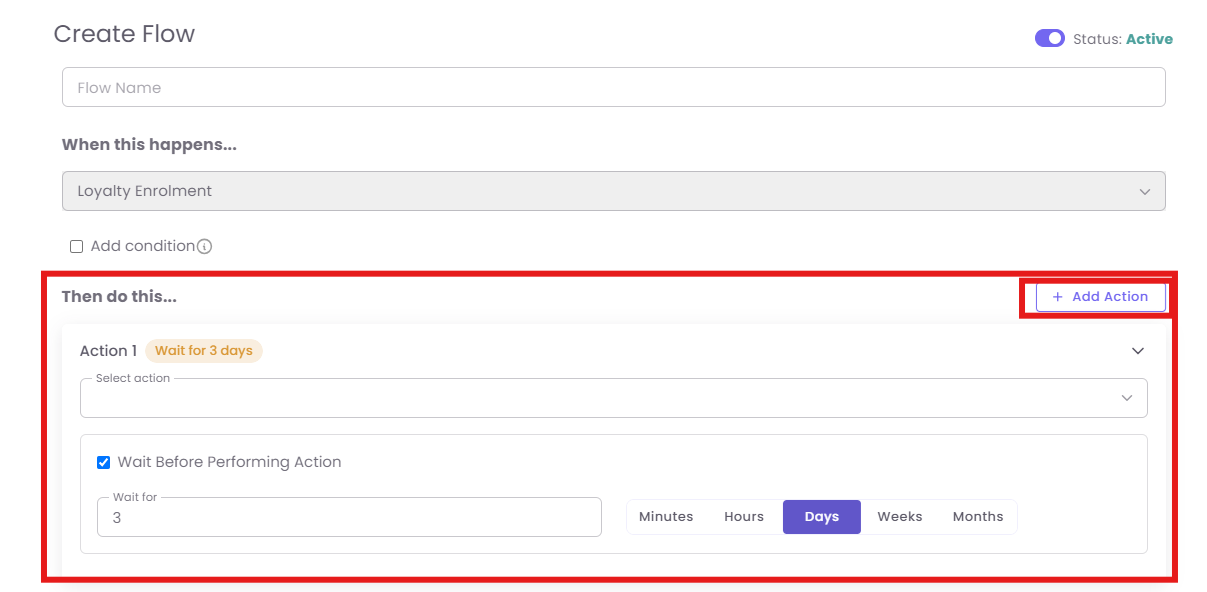
Step 4: Configure the Action and Timing ("Then do this...")
This section defines what you want to happen after the trigger occurs.
-
A. Add an Action: Click the + Add Action button. An "Action 1" block will appear.
-
B. Select the Action: From the
Select actiondropdown, choose what you want the system to do.-
Example: Select
Send SMS.
-
-
C. Set the Timing (Wait Condition): By default, the action is immediate. It is a best practice to add a delay.
-
Check the Wait Before Performing Action box.
-
Enter the wait period. For example, enter 3 and select Days. This means the system will wait for 3 days after the trigger (Loyalty Enrolment) before it sends the SMS.
-
Step 5: Save and Activate Your Flow
Your flow is designed, but it is not yet running.
-
A. Save: Click the Save button (which may appear as
Create Flowon this screen) in the top-right corner. Your flow is now saved with an "InActive" status.
-
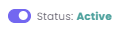
B. Activate: To make your flow "live," you must click the Status toggle in the top-right corner. It will change from
Status: InActive(red/gray) toStatus: Active(green/blue).