
Configuration of E-receipts
After creating a template, you must configure the system to use that template and define how receipts are sent.
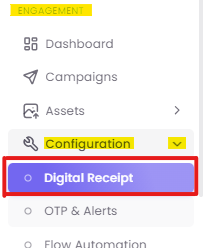
Step 1: Access Digital Receipt Settings
-
From the main dashboard, navigate to the Configuration section.
-
Click on Digital Receipt.
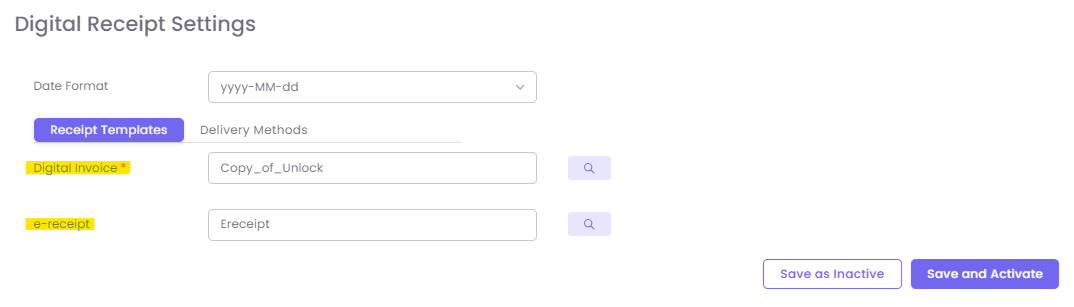
Step 2: Configure Receipt Templates
-
On the settings page, select the Templates tab.
-
You will see fields to associate your templates:
-
Digital invoice: Search for and select the template you just created in Part I.
-
e-receipt: Select the template for your general receipts.
-
-
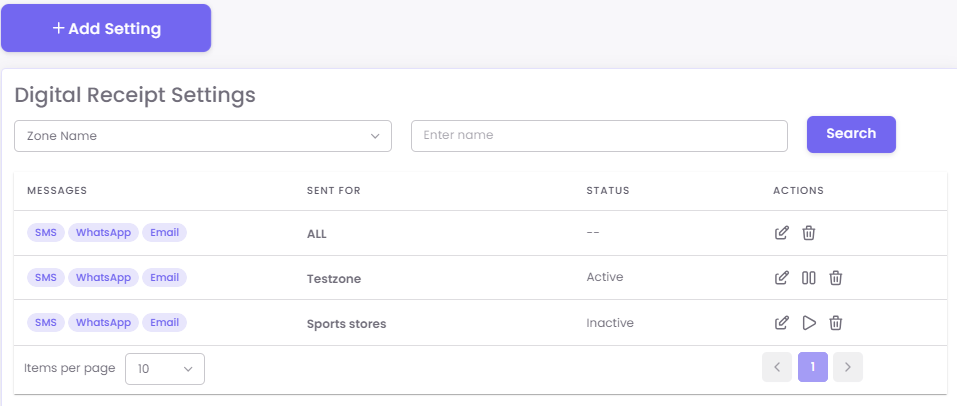
Click Save and Activate to make your selections live.
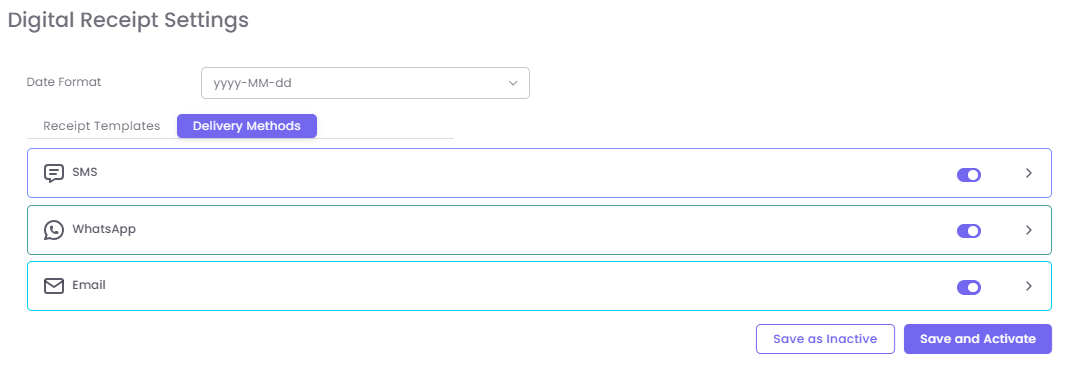
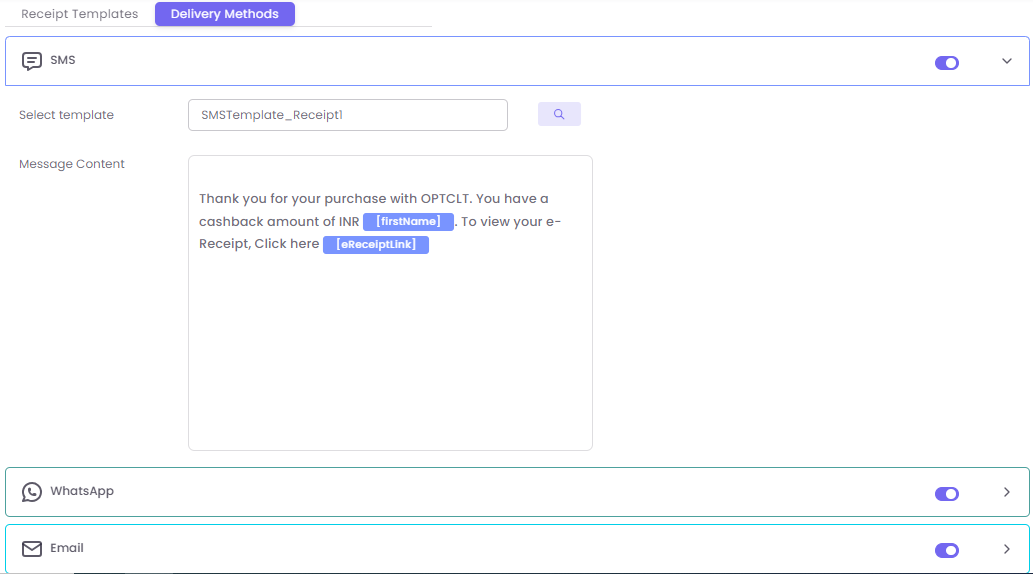
Step 3: Configure Delivery Methods
-
Click on the Delivery Methods tab.
-
You will see options for different channels, such as SMS.
-
Click on the SMS section to expand it.
-
Toggle the switch On to enable SMS delivery.
-
Select template: Choose the template you want to use for SMS receipts (this can be the same one, or a simpler version).
-
Message Content: Enter the text message the customer will receive. This message must contain the link for them to view their full receipt (e.g., "Thanks for shopping! View your e-receipt here: [link]").
-
Step 4: Save Your Configuration
After making all your selections, you can:
-
Save and Activate: Immediately enables the new settings.
-
Save as Inactive: Saves your changes as a draft for later use.