
Create a Digital Invoice
Step 1: Navigate to Digital Invoice
-
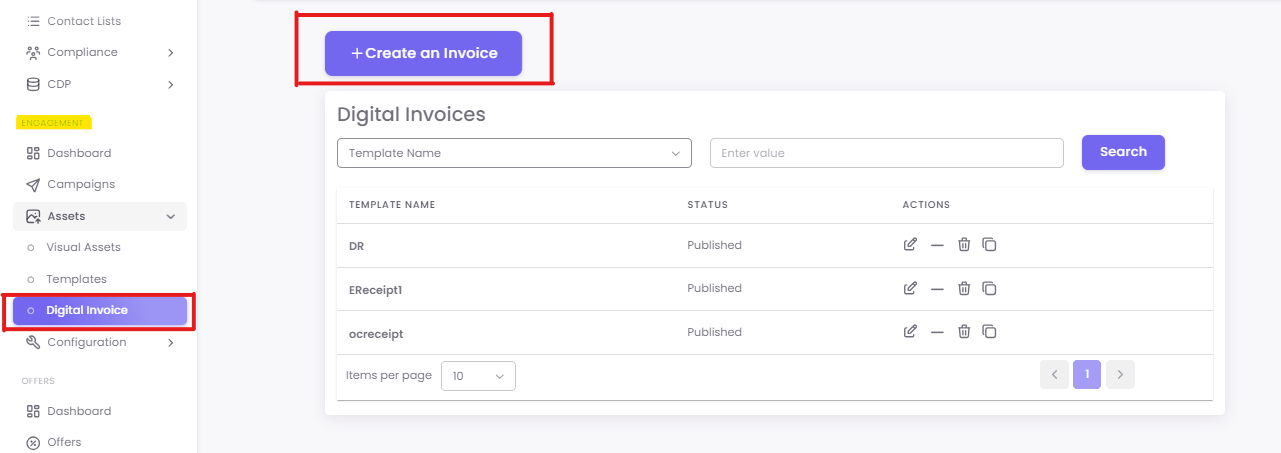
From the main dashboard, go to the Assets section in the left-hand navigation menu.
-
From there, select Digital Invoice.
Step 2: Create a New Invoice
-
Click on the +Create an Invoice button in the top-right corner.
-
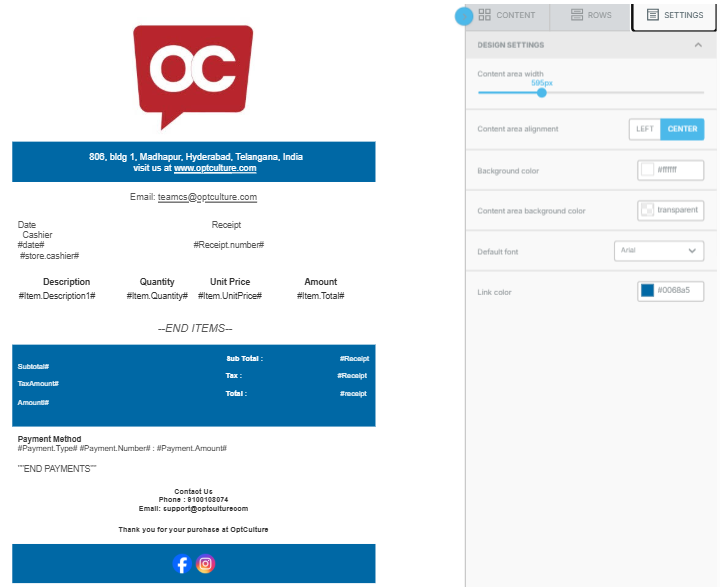
You will be taken to the template builder, which is a user-friendly, drag-and-drop interface.
Step 3: Understanding the Builder (Rows vs. Content)
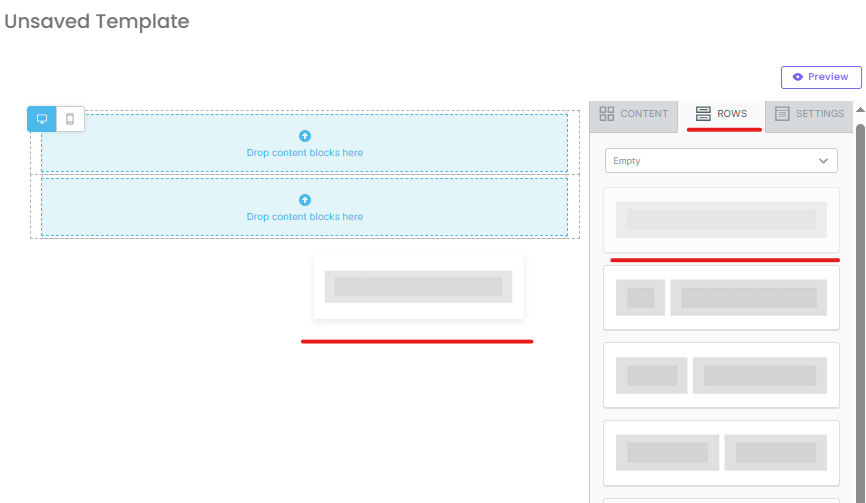
The builder has two main tabs on the right:
-
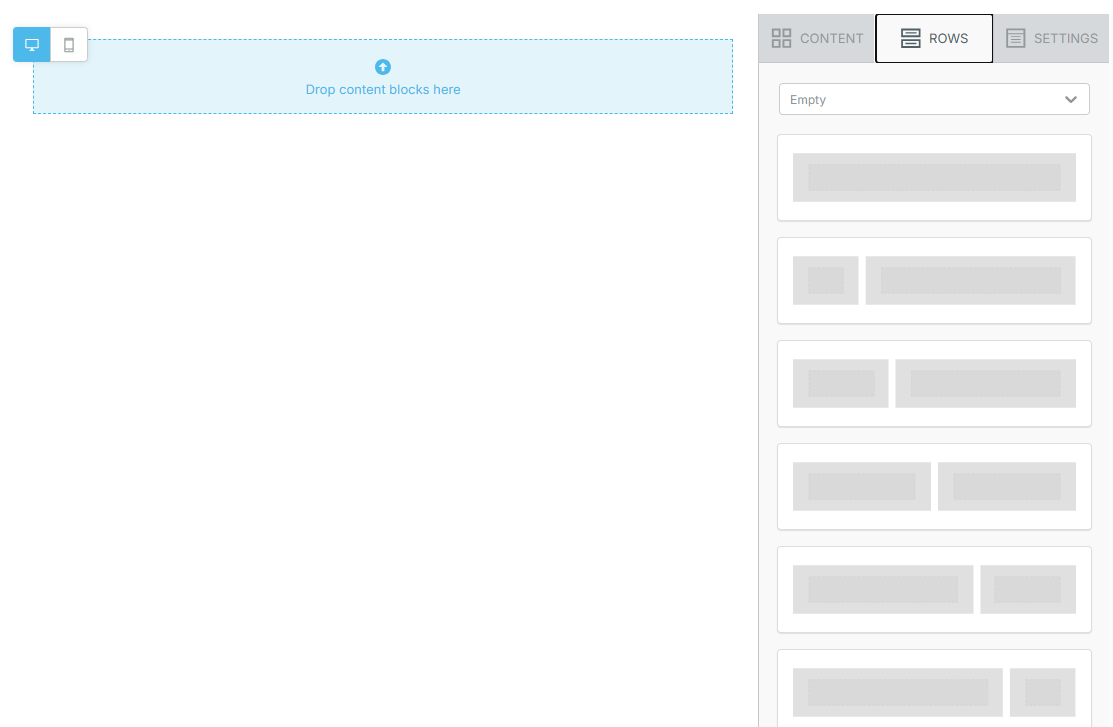
ROWS: These are the structural containers for your template. You must drag a row onto the canvas first. Rows define the layout (e.g., one column, two columns, etc.).
-
CONTENT: These are the content blocks (like text, images, or buttons) that you place inside a row.
Step 4: Using Content Blocks
Go to the CONTENT tab to view the available blocks. Drag and drop these into a Row on your template canvas.
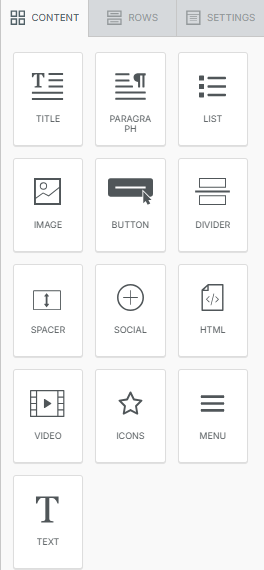
- TITLE: For prominent headings, like "INVOICE" or "Thank You."

-
PARAGRAPH: For longer text blocks, such as a thank-you message or a policy statement.

-
TEXT: A versatile block for all general text, including your business address, contact numbers, and dynamic tags (e.g., #Receipt.Number# and #billtoname#)

-
LIST: Presents information in a bulleted or numbered list.

-
IMAGE: Add your company's logo or promotional banners. You can upload an image or provide a URL (images can be pre-uploaded via the Assets section)


-
DIVIDER: A visual line to separate sections (e.g., separate the header from the item list).

-
SPACER: Adds empty vertical space to improve readability.


- ICONS: Add small icons next to text (e.g., a phone icon next to your contact number).


-
VIDEO: Embed a video from YouTube or Vimeo.

-
HTML: For advanced users. Insert custom HTML code, often used for complex table formatting.

Step 5: Using Pre-defined Rows (Recommended)
Instead of manually adding individual Text blocks, you can use pre-built sections that already contain all the necessary elements and dynamic tags.
-
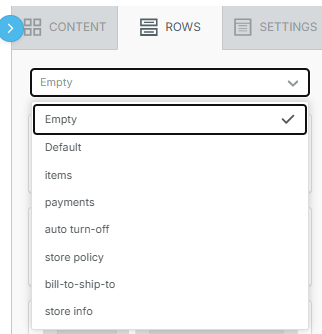
In the template builder, navigate to the ROWS tab.
-
Click the dropdown menu (which defaults to "Empty").
-
Select a category of pre-defined rows, such as "Items" or "Store Info."
-
The rows below will update. Drag your preferred layout onto the canvas.
Available Pre-defined Row Types:
-
Store Info: Quickly adds your store address, receipt number, date, and payment method, all pre-populated with the correct dynamic tags.
-
Bill-to-Ship-to: Includes the customer's billing and shipping addresses. (Note: The "Auto Turn-off" row serves the same purpose).
-
Items: This is the most important row. It provides a structured table for products, with dynamic tags for item description, quantity, price, etc. You can choose layouts with 4, 5, or 6 columns.
-
Payments: Clearly displays the payment type, number, and total amount.
-
Store Policy: Helps you add your return/exchange policy.
Step 6: Save Your Template
Once you are satisfied with the design, click Save. Give your template a clear name (e.g., "Standard E-Receipt - 2024"). The template will now appear in your list of Digital Invoices.