
Create a Store
Step1: Navigate to Stores
To begin, you will first need to navigate to the Stores section.
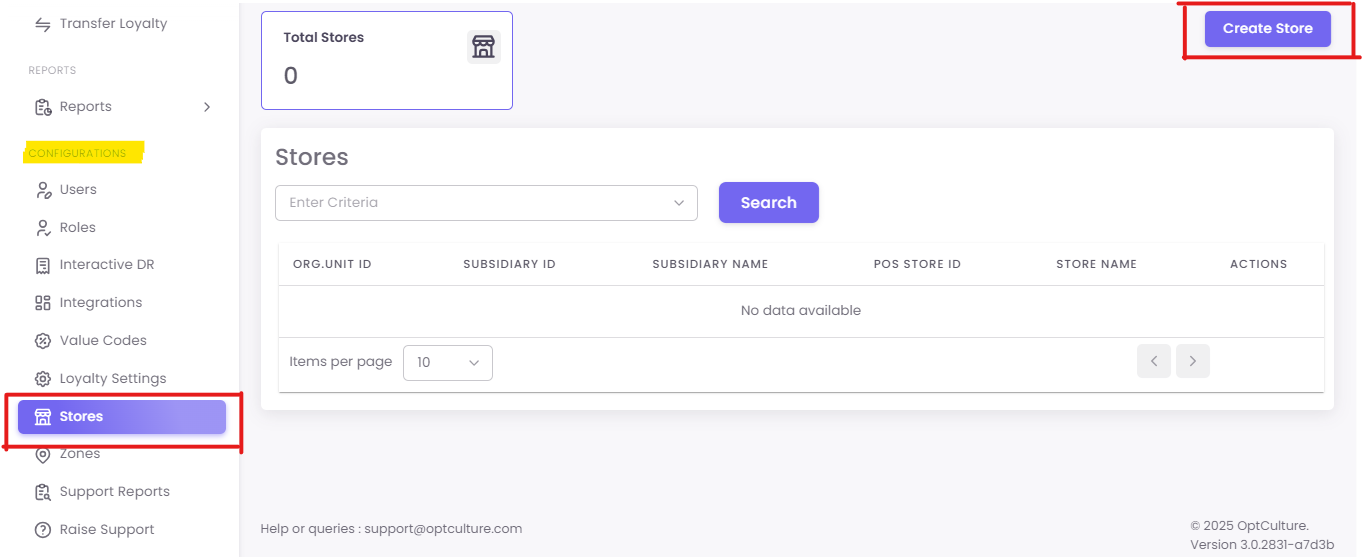
Step2: Creating a New Store
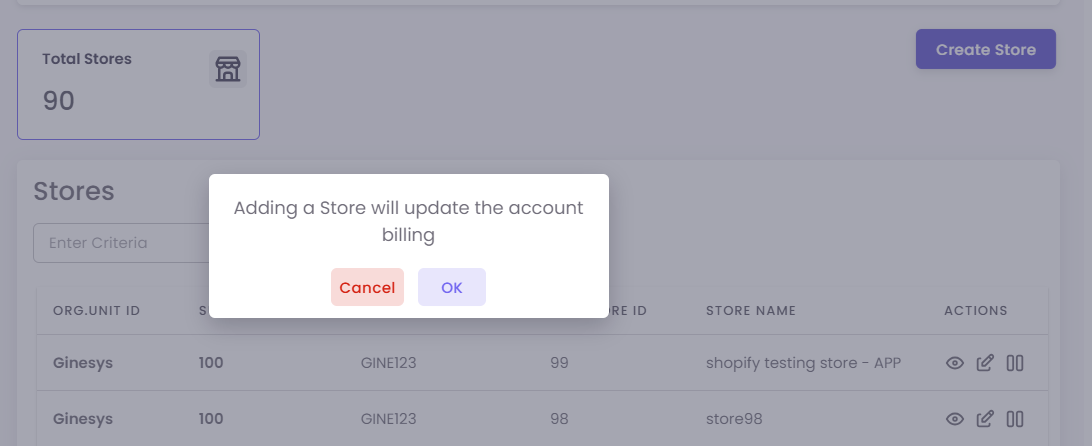
On the Stores dashboard, click the Create Store button in the top right corner. A pop-up will appear with a warning that "Adding a Store will update the account billing." Click OK to proceed.
A new form will appear for you to enter the store's details.
1. Fill in the Store Information:
-
Store Name: Enter the name of your new store.
-
Store Image: Upload an image for the store (optional).
-
Manager Details: Enter the store manager's name and contact information.
-
Store Address: Provide the complete address of the store location.
-
Website & Google Maps Link: Add the website and Google Maps URL for the store (if applicable).
Step3: Save Your Changes
Once you have filled in all the required information, click Save at the bottom of the form to create the new store.