
How to Create and Run a Cluster
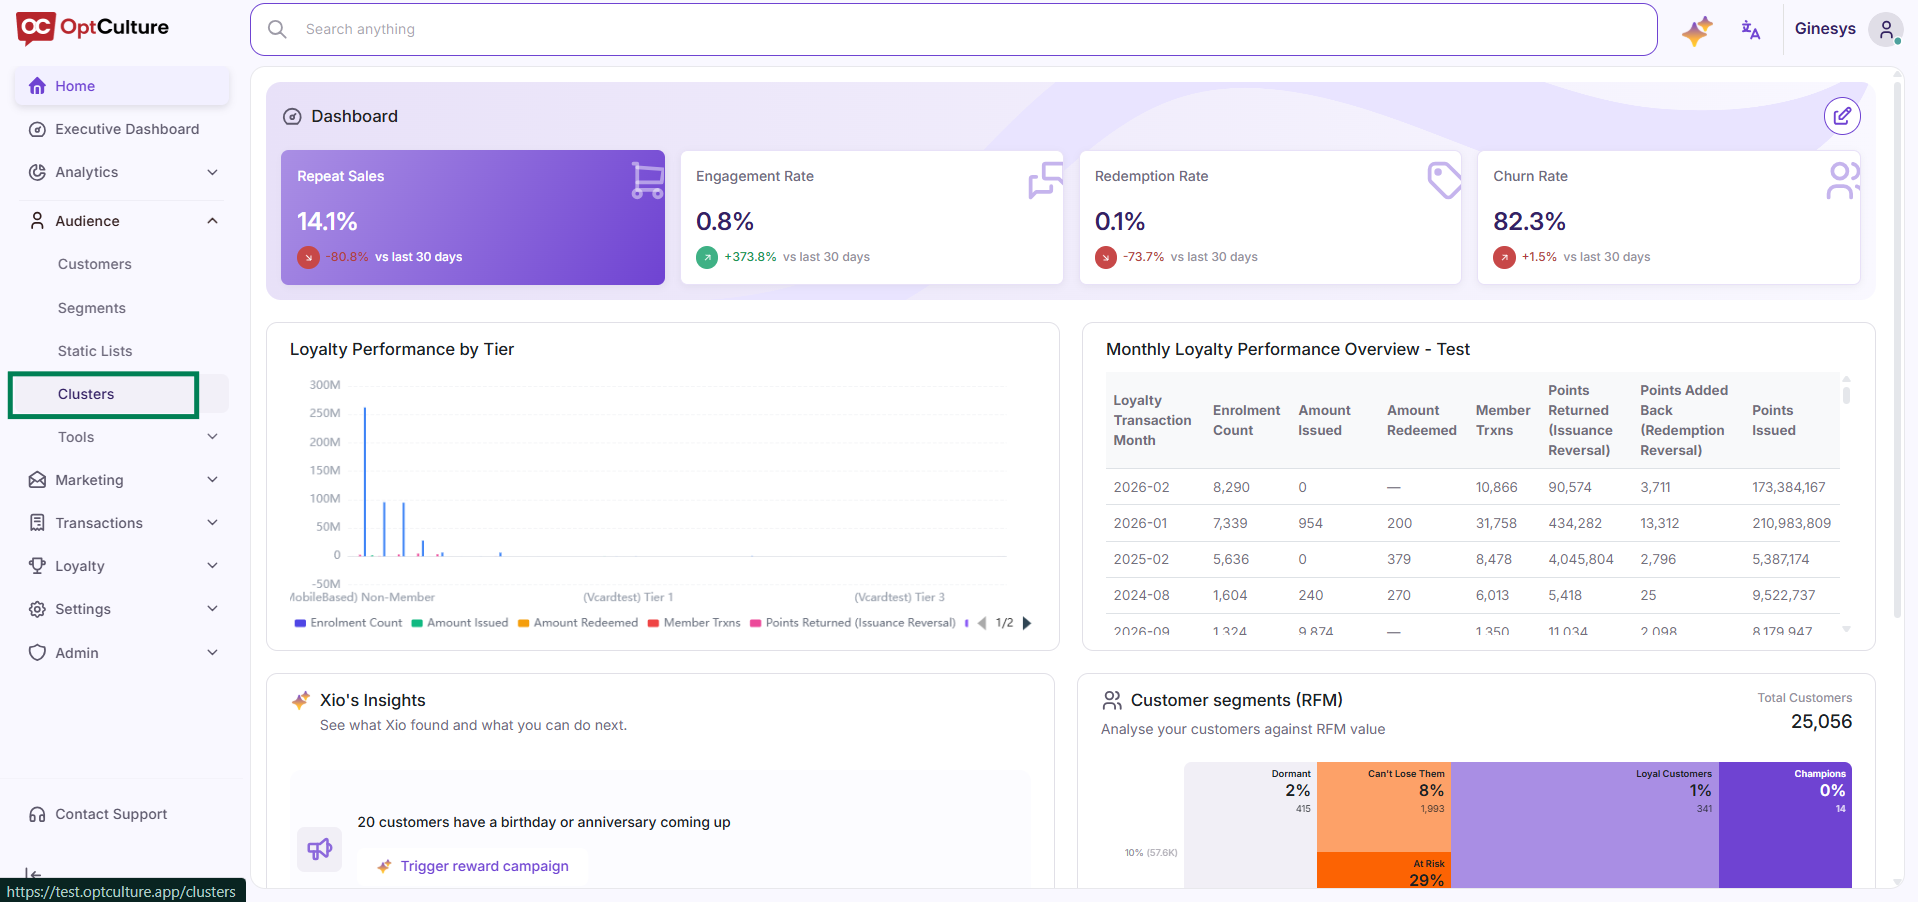
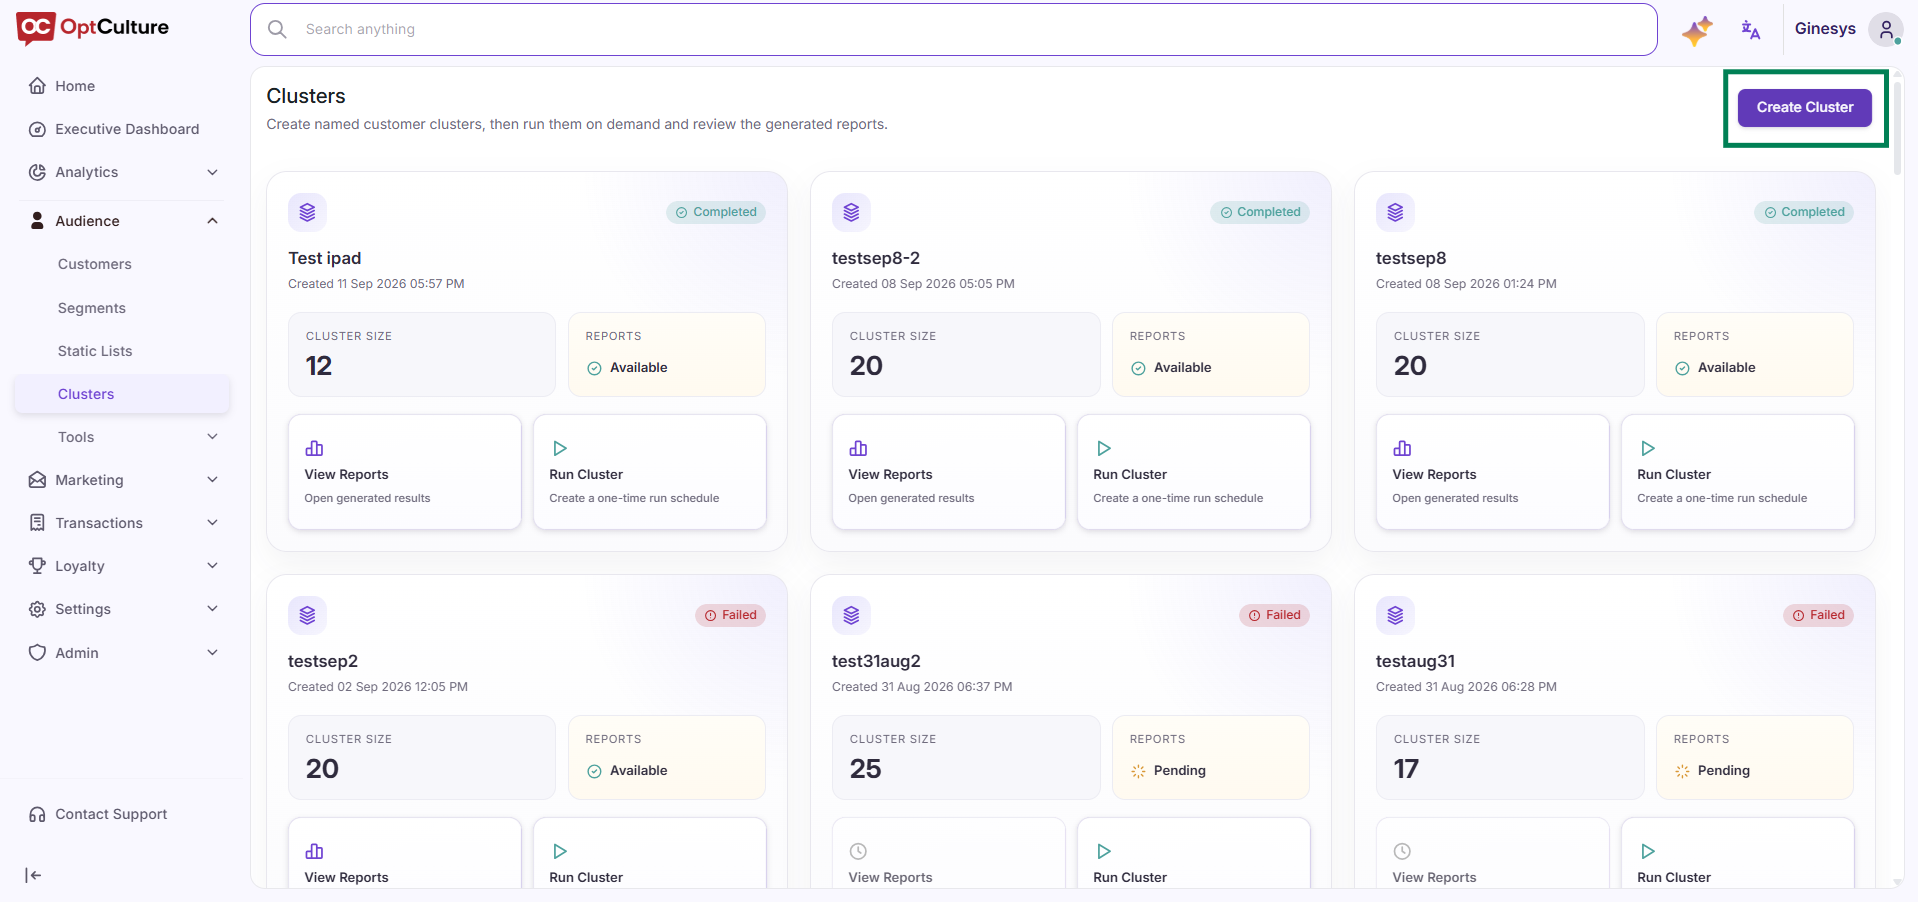
How to verify: Check that the page redirects to the New Cluster setup screen.
Step 2: Configure Basic Cluster Settings
Fill out the primary parameters:
-
Cluster name: Enter a descriptive title (e.g., Q3 Shopper Analysis).
-
Cluster size: Set the total number of segments to generate (between 2 and 50).
-
Product level: Select the product hierarchy (Category, Class, Subclass, or Department) for product affinity tracking.
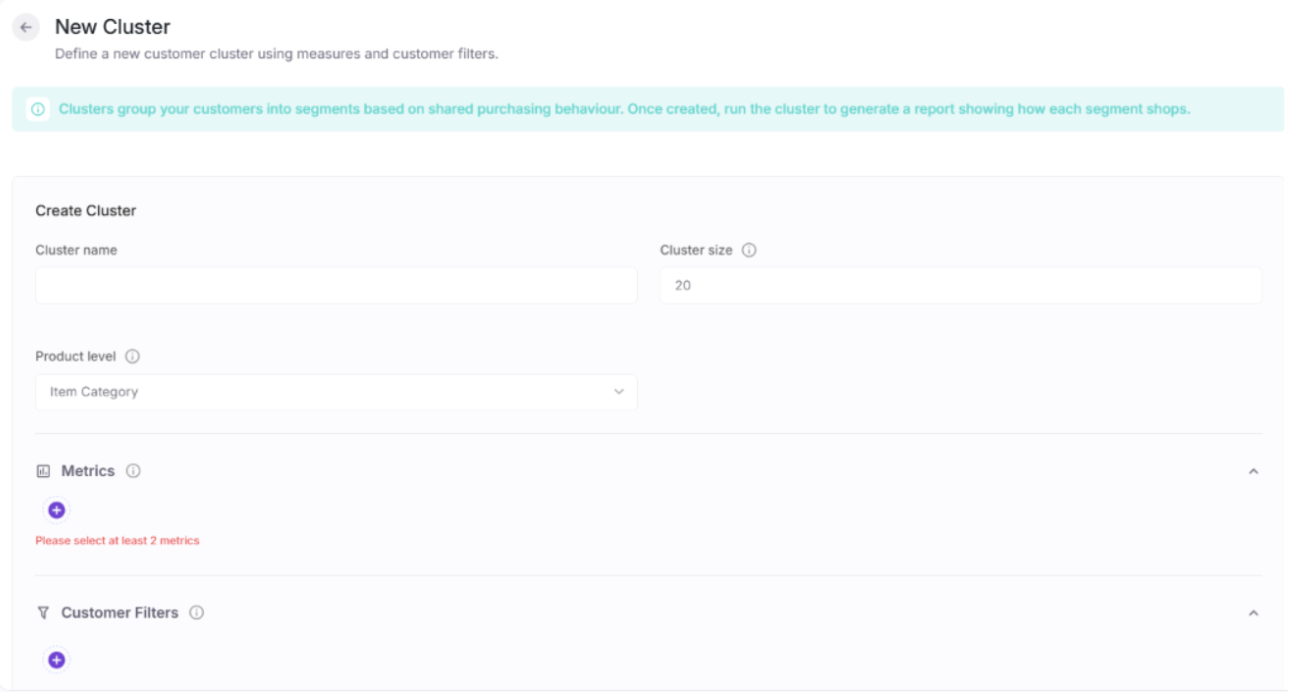
How to verify: Ensure the cluster size is set between 2 and 50.
Step 3: Select Behavioral Metrics
Under the Metrics section, click the + button to choose the customer behavior measures the algorithm will analyze.
Note: You must select at least 2 metrics (such as spend, visit frequency, or average order value).
How to verify: Ensure at least two selected metrics appear under the Metrics section without any red error warnings.
Step 4: Apply Customer Filters (Optional)
Under Customer Filters, click + Add Rule to scope the eligible customer pool before running the analysis. You can combine attributes using AND and OR logic (e.g., RFM Category is not At Risk AND Number of Visits > 3). If you want to analyze your entire customer database, leave this section blank.
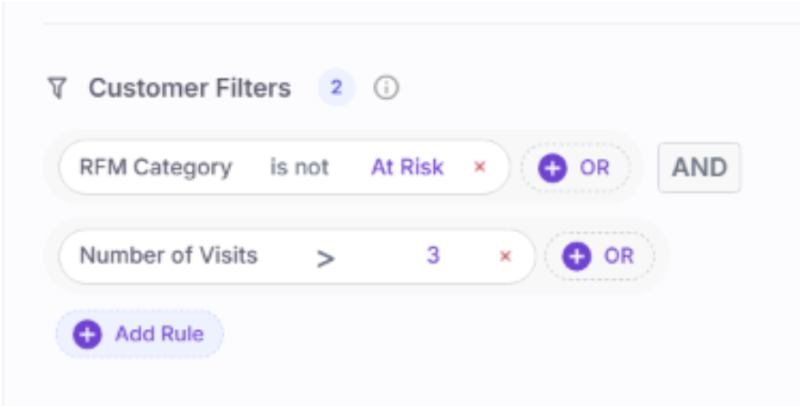
How to verify: Confirm that the configured rules match your target customer criteria.
Step 5: Save and Run the Cluster
-
Click Save to store your configuration.
-
Click Run Cluster to start processing the analysis.
How to verify: Check that the cluster status updates to Processing or Completed on the main dashboard. Analysis typically takes 10–15 minutes, and an email notification will be sent once completed.
Step 6: View Reports and Export as a List
Once completed, click View Reports on the cluster card to examine the results table and scatter plot comparisons.
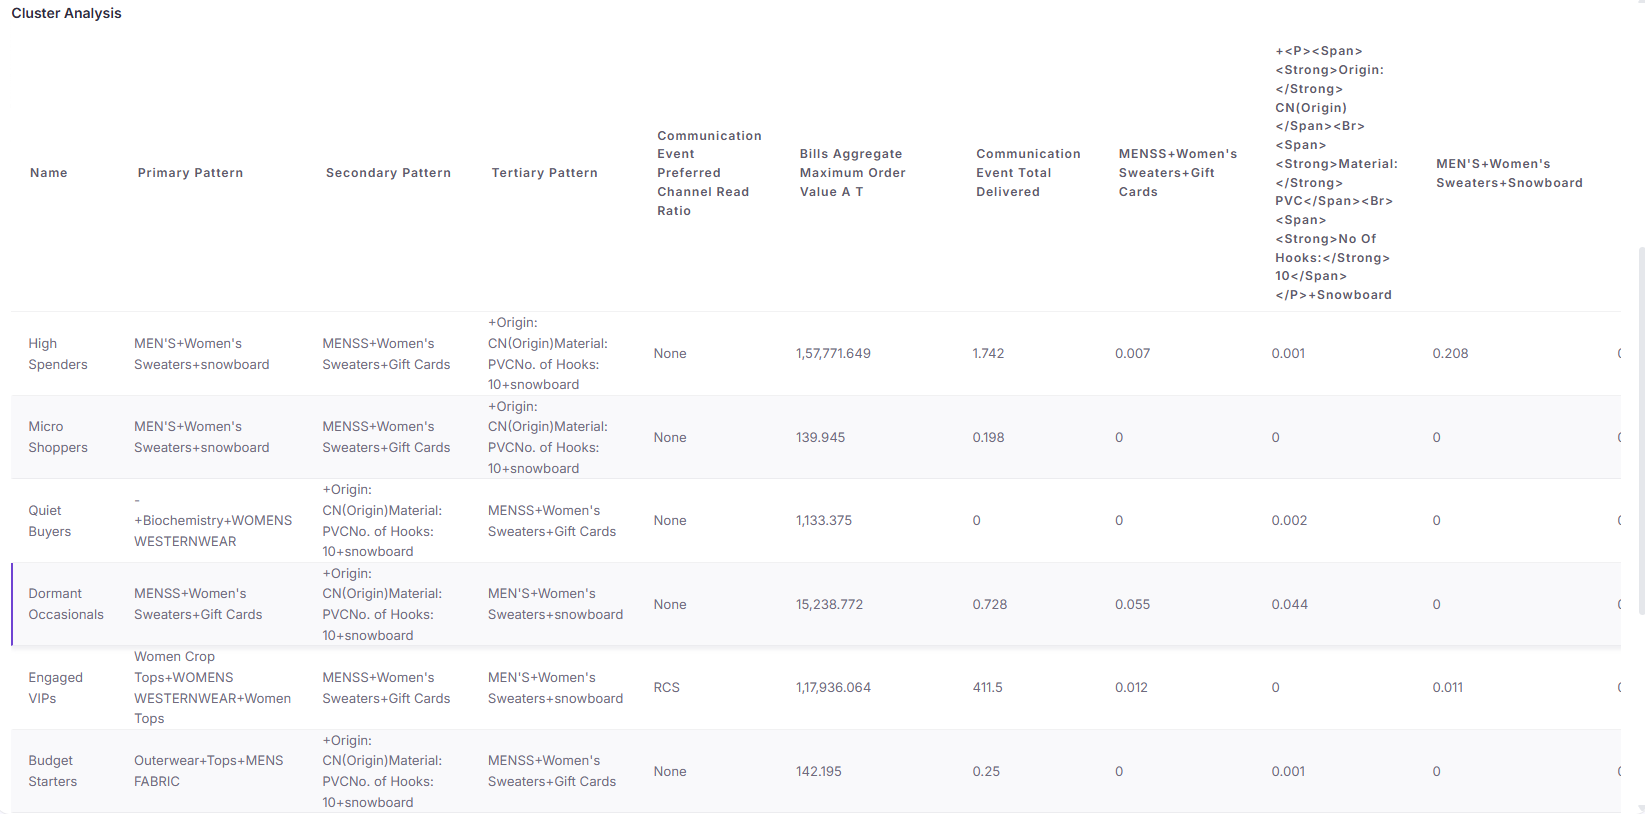
To turn any discovered segment into a targeted campaign list, click Save As List on the corresponding cluster row.
How to verify: Confirm that the newly created list appears under Audience → Static Lists.