Creating an RCS Campaign
Step 1: Navigate to Campaigns
From the main dashboard, select Campaigns from the left-hand navigation menu and click the +Create a Campaign button. 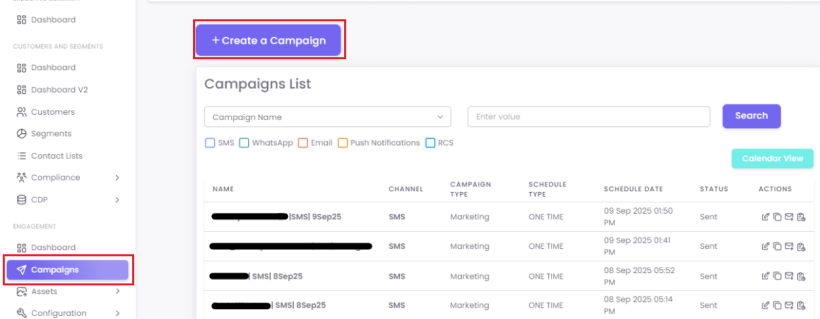
From the "Mode of Communication" options, select RCS to begin.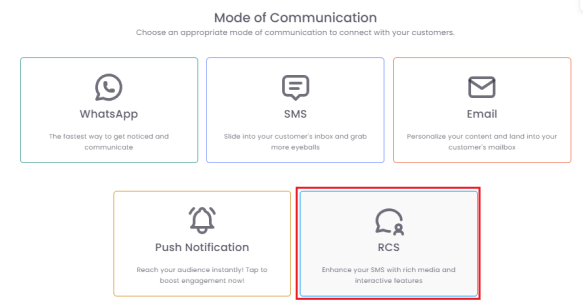
Step 2: Fill out Campaign Details
In the Campaign Details section, fill in the required information:
-
Campaign Name: Give your campaign a unique, descriptive name for internal reference.
-
Contact Source: Select the source of your contacts.
-
Message Template: Select a pre-approved message template.
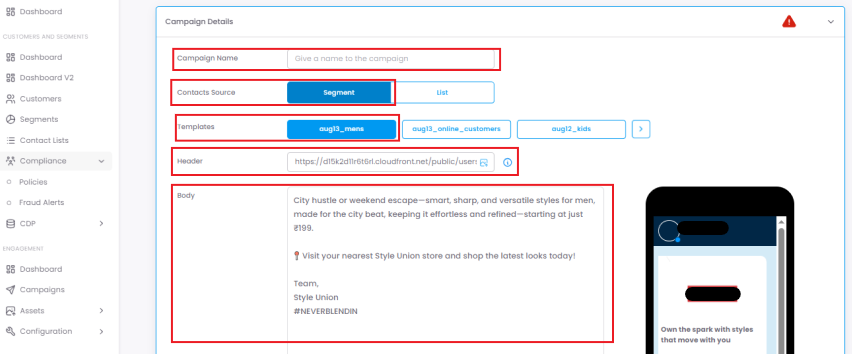
Once selected, the content will automatically populate the "Body" field, and a preview of your rich message will be visible. You can use the Send Test feature to preview the message on your device or click Next to proceed.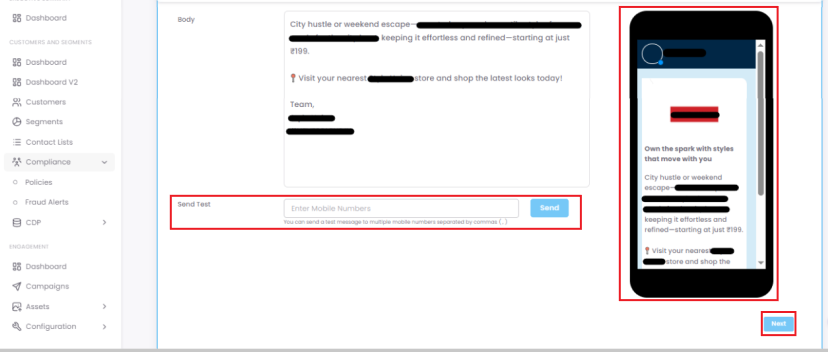
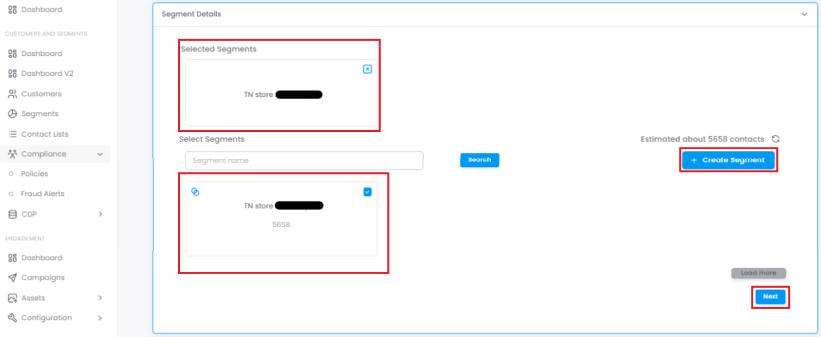
Step 3: Select Your Segment
Choose an existing segment of contacts or create a new one using the +Create Segment button. This defines the specific group of contacts who will receive your message. After making your selection, click Next.
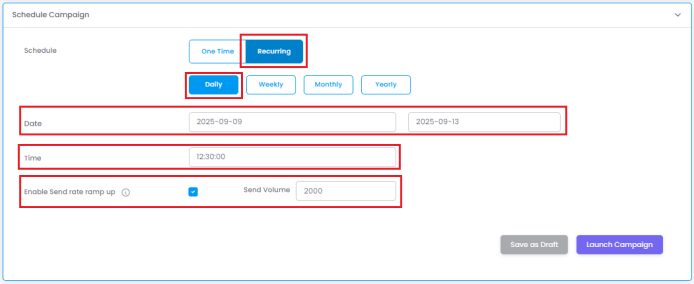
Step 4: Schedule Your Campaign
In the Schedule Campaign section, choose your schedule type:
- One Time: Sends the campaign once at a fixed date and time.

- Recurring: Sends the campaign repeatedly on a daily, weekly, monthly, or yearly basis.
-
Ramp up: This feature helps you divide your chosen segment into smaller batches of unique contacts. You set a "Send Volume" (number of contacts per batch) and the system sends the same campaign to each batch over a period.
-
For example, to send to 10,000 contacts over 5 days, you can choose Daily, set the dates, enable send rate ramp up, and enter a Send Volume of 2,000. The system will send to 2,000 unique contacts each day until all 10,000 are covered.
-
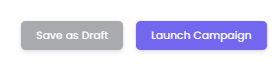
Step 5: Launch or Save
Once your schedule is set, you can either:
-
Click Save as Draft to return to it later.
-
Click Launch Campaign to save the campaign and schedule it for delivery at the chosen time.